Flow configurations
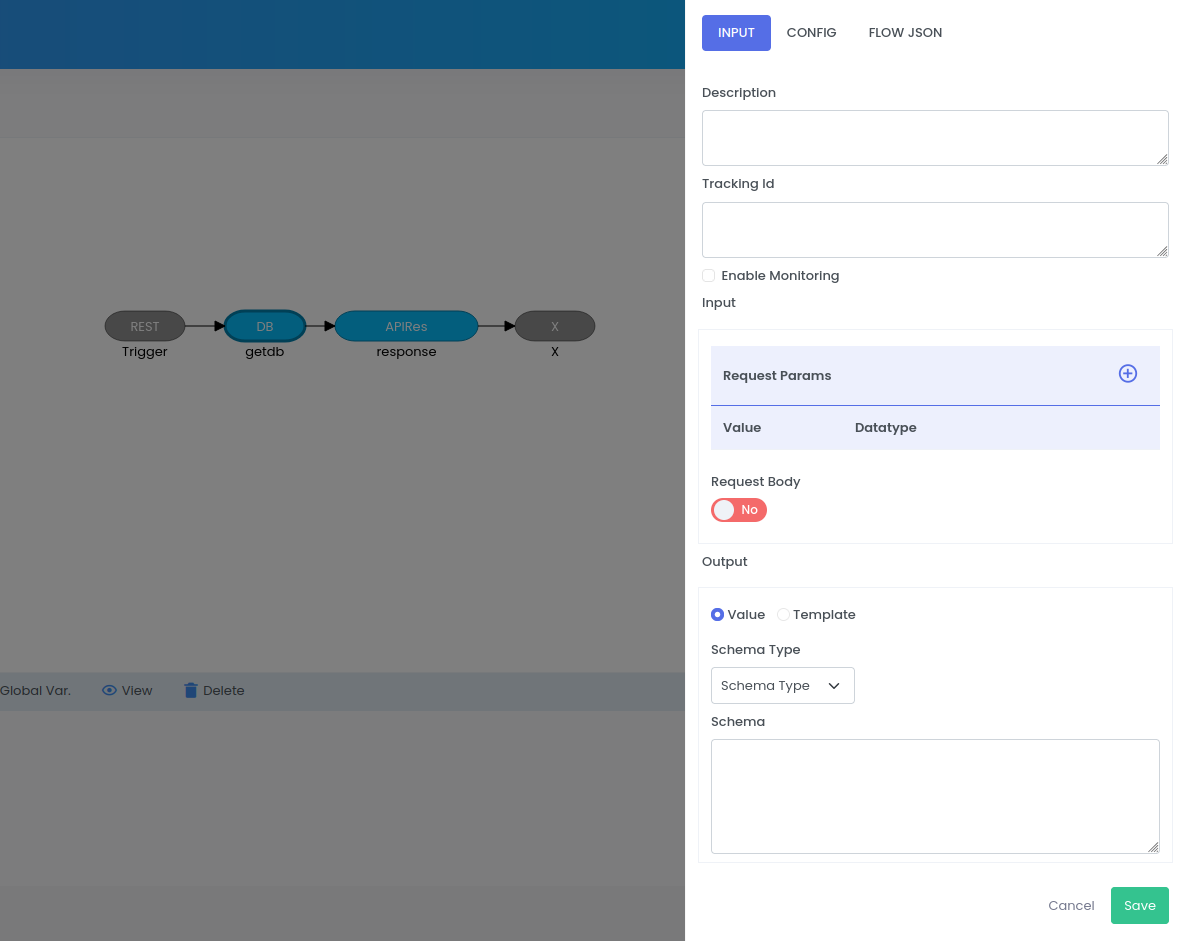
Configure quickintegration flow to enable monitoring, add custom tracking, define input and output schemas. Right click on the canvas to access all the options.
Supported features
1. Description
Add a flow description to describe what flow service does. This description will be added in swagger file of the service and in the API portal of Monitoring service.
2. Tracking Id
You can add a custom Tracking Id for better traceability. The custom tracking id will be displayed in the application logs. Same will be shown at transaction monitoring page in monitoring service. The value provided in this section should be passed as header when sending the request to the application.
Configuration
- Transaction id will replace the autogerated transcation id of the request
- Right click on the blank canvas
- Add the header key name which will be passed in the request headers
- Click save
3. Enable monitoring
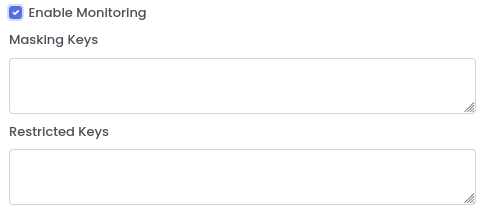
By selecting enable monitoring, user can monitor the application in monitoring UI service. Every request made to the application will be monitored.
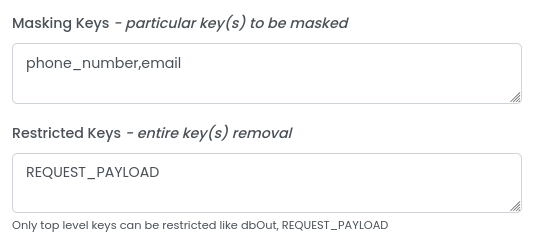
4. Add Masking keys
- Mask values corresponding to a specified set of keys. The masked keys values will not be visible in the transaction page in monitoring UI.
- Multiple keys can be provided using comma as delimiter
5. Add restricted keys
Restrict any top level keys which should not be visible to transaction.
Configuration
- Masking keys supports top level and nested keys
- eg: REQUEST_PARAMS,email,phone_number
- Restricted kets only support top level keys
- eg: REQUEST_PARAMS,REQUEST_BODY
- Right click on the blank canvas
- Check
enable monotoring - Add
masking keysorRestricted keysas per requirement - Multiple keys can be added using comma delimiter without space in between
- Click save
6. Input schema
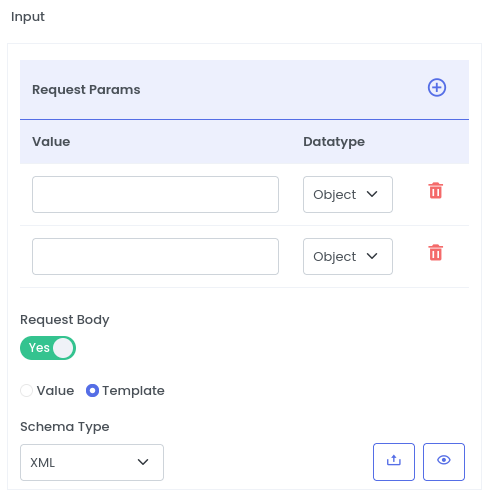
Define input schemas for request params and request body
Configuration
- Add request param key and its data type in
Request Paramssection - Click
plus buttonto add multiple request params - Select
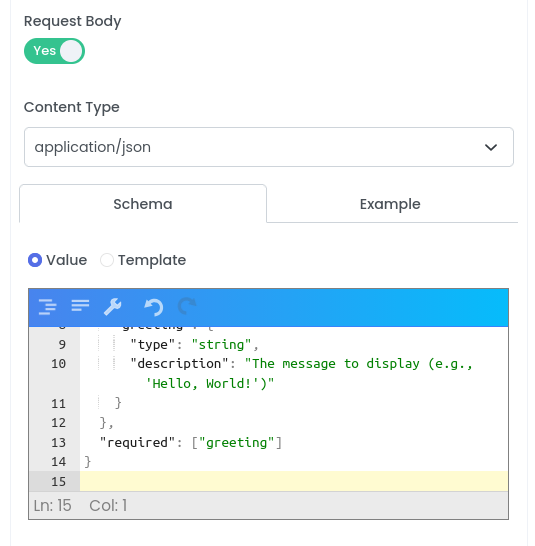
Request Bodyradio button to add request body- Select
Content Typefrom:- application/json
- application/xml
- text/csv
- text/plain
- Select
valueto directly input the schema - Select
Templateto upload the schema
- Select
- The schemas options is only available for REST, SOAP and MCP tool services, and it will be added in swagger file of the service
7. Output schema
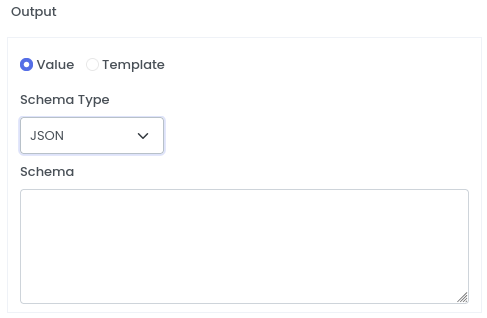
Define output schemas for the service using value or template.
Configuration
- Select
Content Typefrom:- application/json
- application/xml
- text/csv
- text/plain
- Select
valueto directly input the schema - Select
Templateto upload the schema